LK Metrology
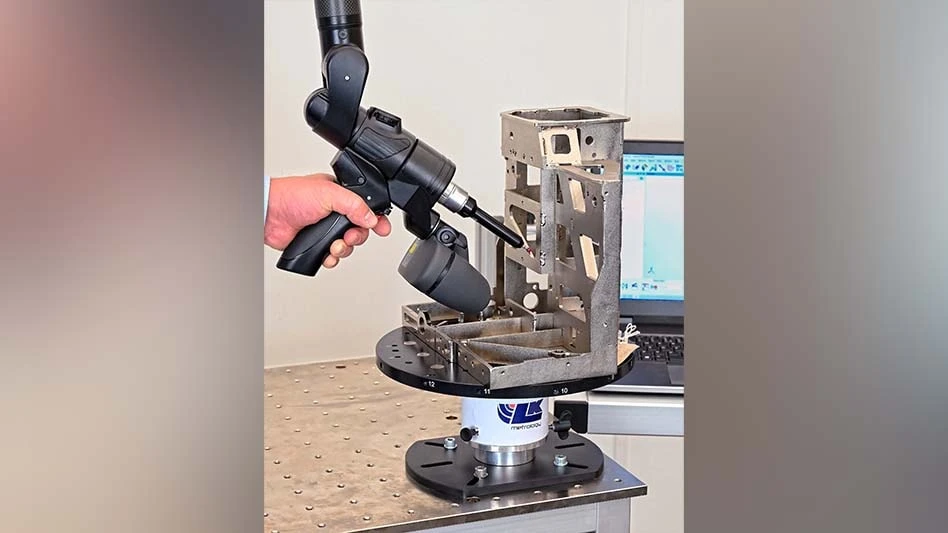
The speed with which someone can inspect a component using a portable, multi-axis measuring arm is increased by up to 40% if, instead of the part being static, it’s placed on a FREEDOM Index Table from LK Metrology, Castle Donington, UK. The coordinate measuring machine manufacturer says that not only is inspection more efficient, but also in some cases it is possible to use a smaller, less expensive arm to access all areas of a component. In other words, the effective measuring volume of any arm is increased.
Rotation may even avoid having to relocate the arm to enable sufficient access to the back of the part, which would lengthen the measuring cycle and could introduce inaccuracy. Additionally, the operator is not fatigued by repeatedly having to stretch to reach around the component, which can weigh up to 220 lb (100kg).
Requiring no cables, the portable, manually operated, metrology grade index table is compatible with any make of portable measuring arm, not just LK's 6- and 7-axis FREEDOM arm range, which comprises 34 models. The 11.8" (300mm) or optional 19.6" (500mm) diameter table is quick to set up on a work surface, after which the operator secures the part to be inspected onto the surface with the aid of pre-drilled, threaded fixing holes or integral clamping magnets.
Similarly rapid is initial calibration of the start position by telling the coordinate system in InnovMetric’s PolyWorks|Inspector software where the table is. The speed of this procedure is down to clever positioning of randomly placed, alphanumerically labelled, fiducial dimples machined into the top of the table and around its periphery. By probing three or more of them using the arm, the software recognizes the irregular pattern and automatically knows the orientation. It is then a simple matter to click the on-screen FREEDOM Index Table macro in the software to update the coordinate system then continue the part inspection.
When the far side of the part needs to be accessed, the table is rotated through 180 degrees (although any intermediate angle is also possible), three or more different reference dimples are probed to update the software as to the new position and measuring continues seamlessly. Both sets of inspection data are aligned automatically by the software. Measurement of geometrical features, evaluation of surfaces using advanced point cloud analysis, part-to-CAD comparison and full reporting in the PolyWorks 3D dimensional analysis and quality control software all follow in the usual way.
PolyWorks and PolyWorks Inspector are trademarks of InnovMetric Software Inc.