CoroCut QD Y-axis tools are optimized to improve surface quality, reduce vibration, and increase blade stiffness.
Unlike conventional parting-off tools that align with the X-axis of the machine tool, Y-axis parting rotates the insert pocket 90° and aligns it with the Y-axis, providing several benefits. The upgrade to the CoroCut QD improves surface quality, creates less vibration compared to conventional parting off – resulting in less noise – and allows for the parting off of much larger diameters than currently possible with conventional methods. Shifting the resultant load to the strongest section of the blade creates 6x higher blade stiffness, enabling increased feed and longer overhangs without losing stability.
For easier programming and increased stroke, the blades have been upgraded to have no Y offset. The blades also have a stop surface that prevents the blade from being pushed into the adaptor and enables easier setup.
X-ray CT systems

The VOXLS range of X-ray computed tomography (CT) systems for non-destructive inspection provides an automation-ready system to meet a wide range of industrial applications. The VOXLS 30 C 225, 30 C 320, and 30 C 450 models have maximum source energies of 225kV, 320kV, and 450kV respectively for examining parts of various densities and sizes. They also have a more compact footprint than Nikon’s 40 Series while maintaining advanced features traditionally exclusive to larger, more expensive solutions. A metrology-grade, granite-based manipulator coupled with rigid steel towers provides a thermally stable and solid construction. High-precision motors, ballscrew drives, and encoders ensure precise positioning and accurate movement of all axes, including the synchronous vertical motion of the X-ray sources and detectors. The systems feature motorized bi-parting radiation doors that open and close in less than five seconds, behind which the cabinet interior can accommodate items up to 1,000mm in diameter by 1,370mm tall. All models offer maximum scanning volumes of more than 600mm diameter by more than 1m high. The systems’ X-ray source technology includes 225kV Rotating.Target 2.0 and 450kV reflection target. The 30 Series cabinets use a manipulator-interlocked, glass outer door to give the operator visibility into the enclosure when the inner radiation safety doors are open. This design enables confident positioning of the scan object, minimizing the risk of collision with the X-ray source and detector while providing a physical safety barrier between the operator and the moving manipulator. Multiple internal high-resolution video cameras provide an excellent view even with the inner radiation safety doors shut and X-rays on.
Nikon IMBU5-axis CMM

The AGILITY CMM has been designed and made for speed and accuracy. It’s optimized for Renishaw’s REVO 5-axis multi-sensor system and delivers new capability to the shop floor.
Multi-sensor CMMs enable manufacturers to carry out multiple measurement processes and report results on a single device. REVO sensors with tactile touch-trigger and scanning, surface roughness, temperature, ultrasonic thickness measurement, and non-contact probes are available to AGILITY CMM users.
The machine’s structure combines granite and anodized aluminum to provide excellent strength and stability whilet ensuring accurate metrology throughout the measuring volume. Bearing design and placement, the cable track arrangement, and frictionless linear motors ensure a stable, repeatable platform when the REVO system is scanning at high speeds. Minimal contacting parts prevent friction and thermal instability, while reducing wear and maintenance requirements. The elevated, protected Y-axis drive system minimizes the moving structural mass and prevents contamination.
Every machine is error-mapped and certified using laser calibration systems.
AGILITY CMMs are also compatible with Renishaw Central, a manufacturing data platform enabling reporting and closed-loop process control on the shop floor. Renishaw Central uses measurement data to identify deviations and automatically send correction updates to the appropriate manufacturing machines.
Renishaw
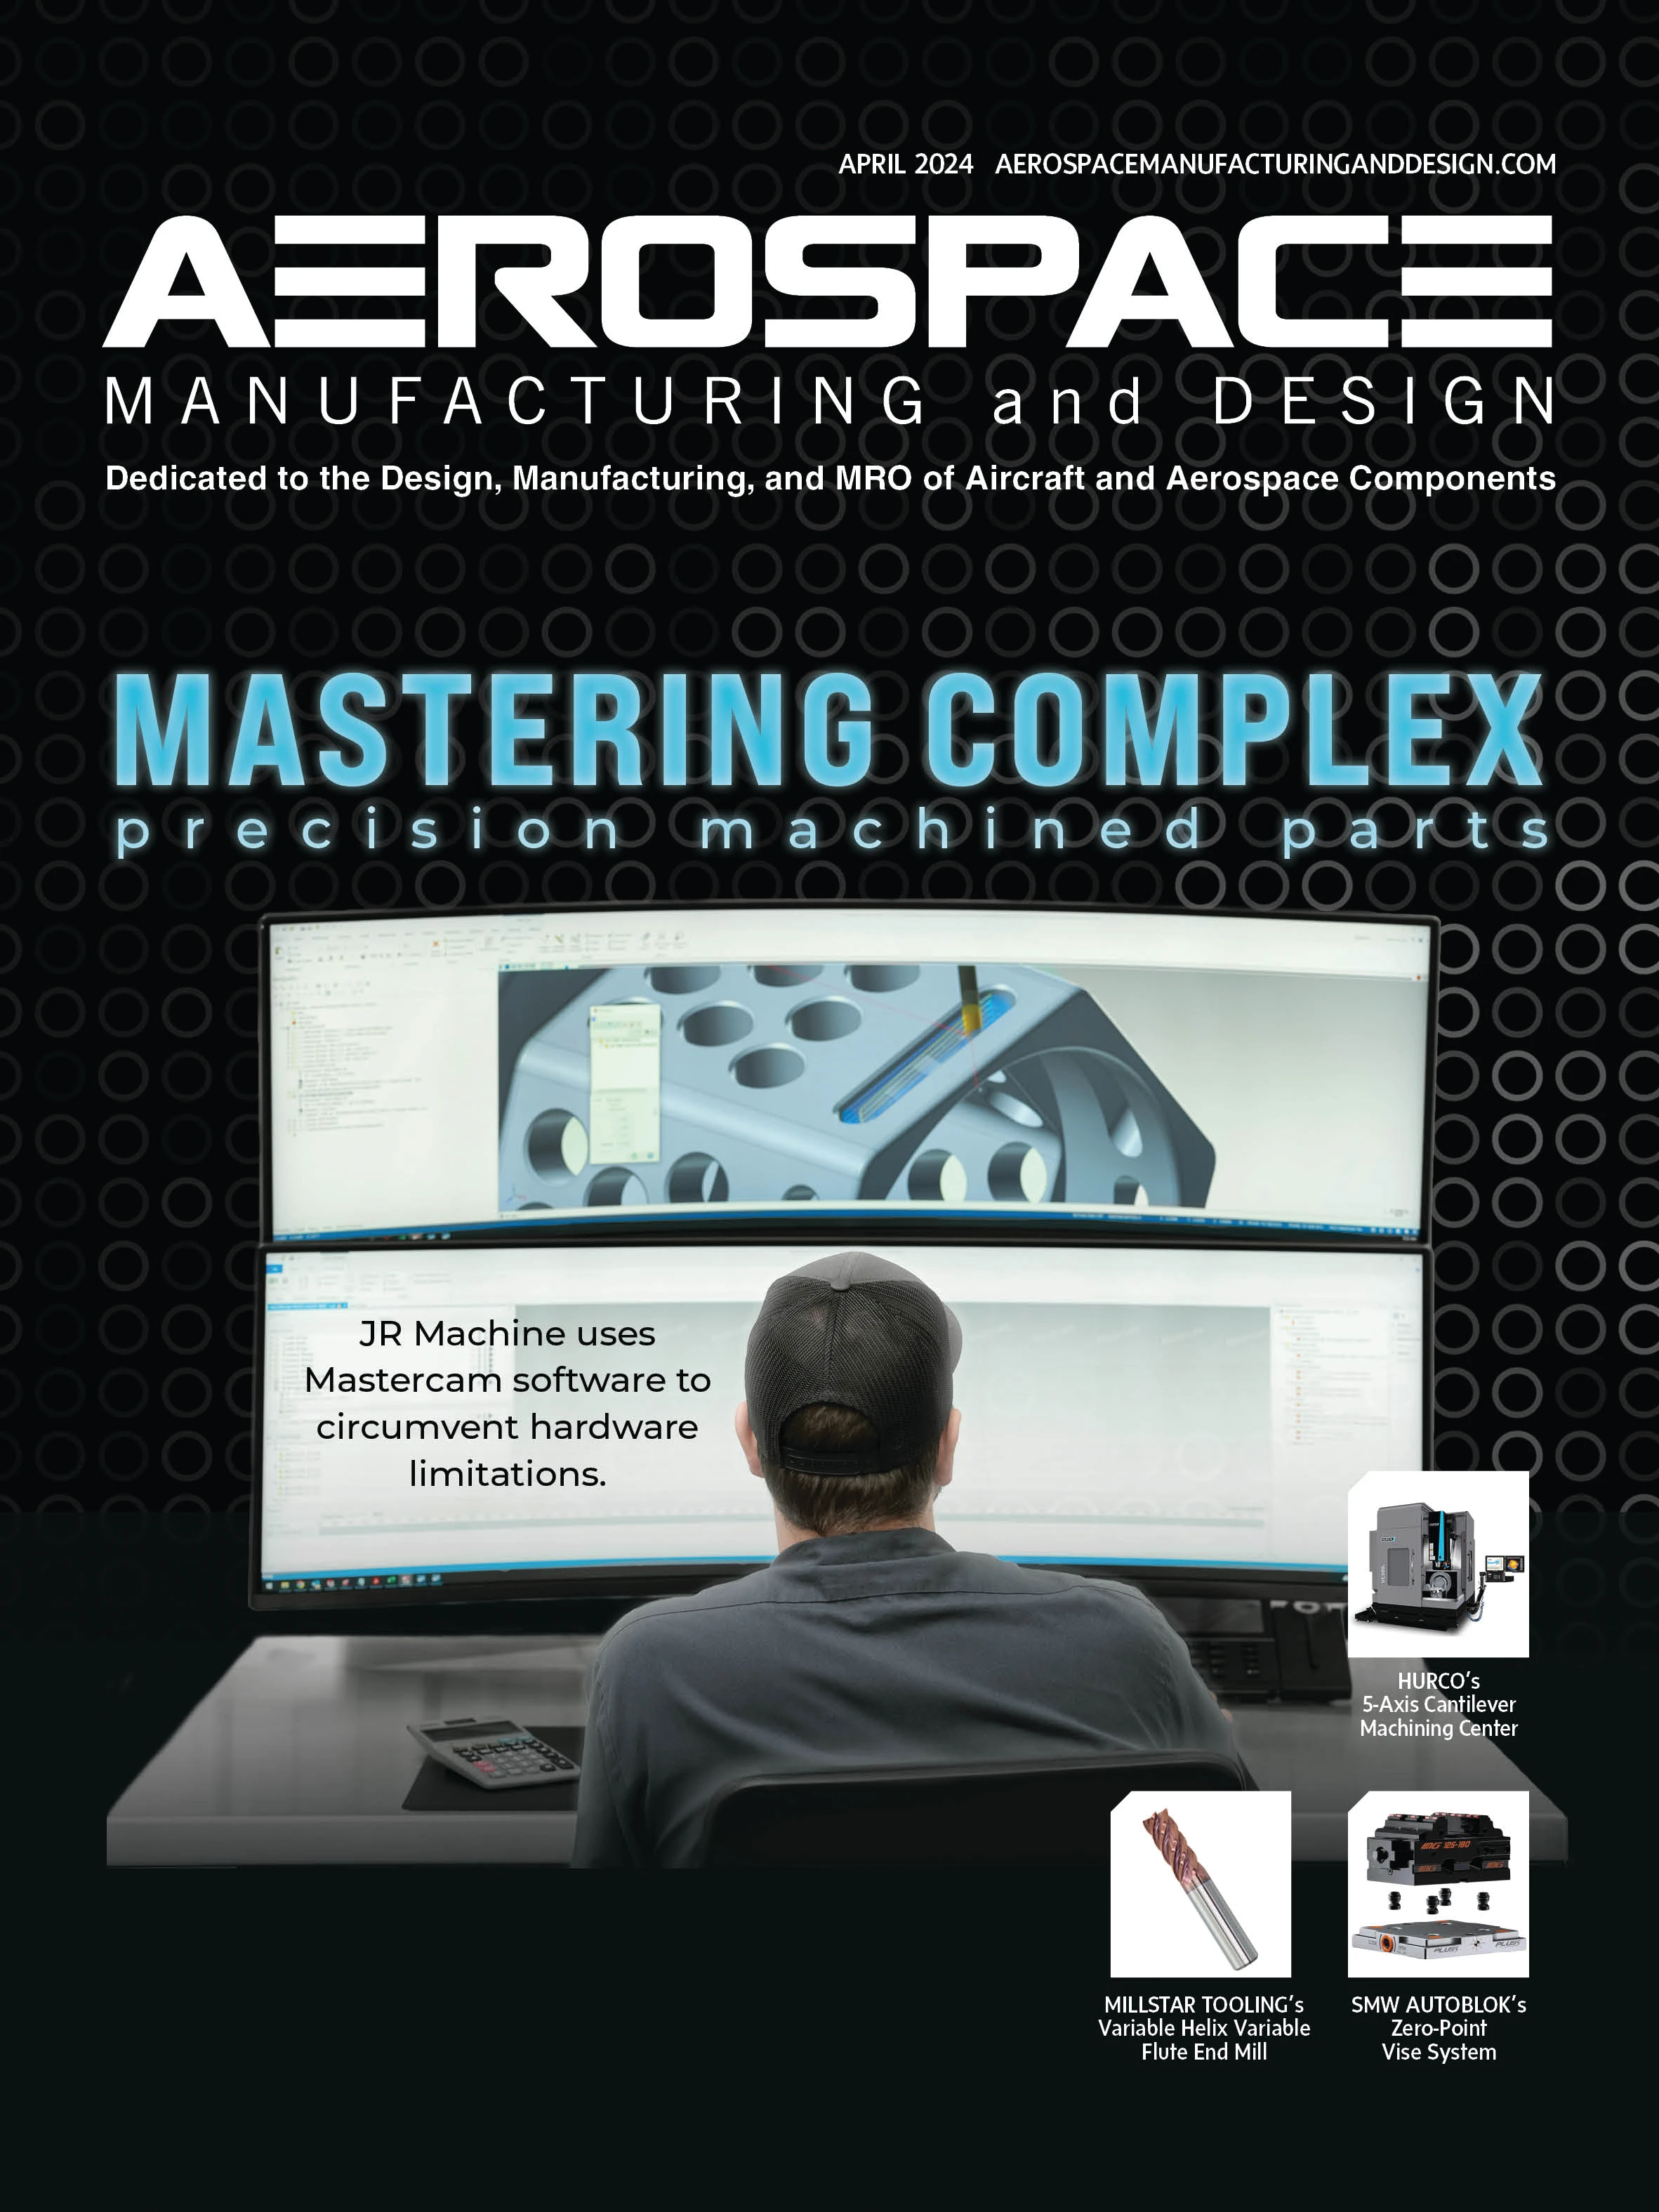
Explore the April 2024 Issue
Check out more from this issue and find your next story to read.
Latest from Aerospace Manufacturing and Design
- Extraordinary Starts Where Limits End | Okuma
- Satair, Champion Aerospace sign multi-year distribution agreement
- EMUGE-FRANKEN USA expands N. American solid carbide drill program
- AURA AERO unveils INTEGRAL R to the US market
- Creform Tite-Space AGV fleet
- Cyient Group, Deutsche Aircraft finalize multi-year contract
- High surface quality at high speed
- #57 - Manufacturing Matters - Agile & Robust Supply Chain Management with Lisa Anderson


