Manufacturing processes in mold and die making, as well as in aerospace technology, can be optimized through modern milling technologies like High Speed Cutting (HSC). Economic benefits, however, can only be achieved if both the machine tools and the control can handle higher traverse speeds than those used in conventional machining.
Machine motions that are very fast and yet true to the contour require very precise control of the acceleration and braking processes along a programmed contour. In the conflict of interests between machining time, surface quality and geometric accuracy, modern controls must be capable of making an approach optimized for the milling machine and the manufacturing process. But end users also need to be able to influence the result of milling with simple changes to the parameters. The path control of the CNC has a decisive influence on the optimization of machining times under given requirements for accuracy and surface quality.
HSC in mold and die making
HSC technology offers many new machining possibilities for hardened and alloyed tool steel. Next to the classic diesinking operations, direct HSC milling of molds in hardened materials is gaining in economic significance. One essential advantage of HSC technology lies in its distribution and removal of heat generated during the cutting process. High cutting speeds and feed rates, together with small depths of cut, enable the chips to carry most of the heat away from the workpiece.
HSC Machining
The high feedrates characteristic of HSC machining increase requirements for higher contouring acceleration rates on curved workpiece contours. This places the mechatronic characteristics of a machine tool squarely in the limelight.
If the acceleration rates of the feed drives increase, greater acceleration forces are introduced into the structure of the machine tool. This leads to a greater risk of machine oscillations that can result in loss of surface quality. Therefore, the control requires a strategy of motion control that minimizes machining time and yet achieves optimum surface. The control must therefore offer both the manufacturers and the users of machine tools ways to optimize the path control.
Machine tool builders require optimal interfacing of the control to the characteristics of the machine. The control must provide a clearly structured arrangement of parameters for motion control and the control loops of the feed motors. Each machining task must be performed so that highly dynamic movements do not produce disturbance from machine vibration.
The control must therefore be integrated in the machine to ensure high resilience in any machining task. Machine tool users require the control to enable them to take into account job requirements for machining time and workpiece accuracy. The specified accuracy requirements must be met with the very first part without timeconsuming tests.
The requirements must be defined in the NC program to ensure a permanent assignment to the work order. Moreover, to keep the production times for molds and dies in an acceptable range, free form surfaces are frequently milled with path directions reversed between passes. Meanwhile, the control must generate reproducible tool paths when approaching contour elements from opposed directions. Otherwise, one can expect a loss in surface quality.
Influence of data processing on workpiece accuracy
The manufacture of components with metal-cutting operations requires numerous intermediate steps in which the data of a CAD model geometry is transformed into tool paths.
CAD: The workpiece contour is normally modeled with NURBS (non-uniform rational B-splines). NURBS makes it possible to mathematically describe freeform surfaces.
CAM: The tool path elements are calculated point by point under consideration of the milling strategy and tool compensation values from the CAD geometry, whereby the predefined chordal deviation (model accuracy) determines the distance between points.
CNC (Computerized Numerical Control): The part program is converted point by point into axis movements and velocity profiles while taking into account the specifications for path tolerance. To attain high surface definition, the distance between adjacent milling paths must remain significantly smaller than the defined path tolerances.
Mechatronics: The axis movements are available in a fixed time grid as nominal and actual movements and are converted over the machine geometry into tool and workpiece movements. The following error of the feed axes, deviations from the nominal geometry of the machine, thermal influences and vibrations in the machine frame and motors can reduce the workpiece accuracy. The need to optimize machining times, surface definition and workpiece accuracy results in the following basic requirements on the CNC:
- Effective monitoring of contour tolerances
- Exact reproduction of adjacent paths after direction reversal
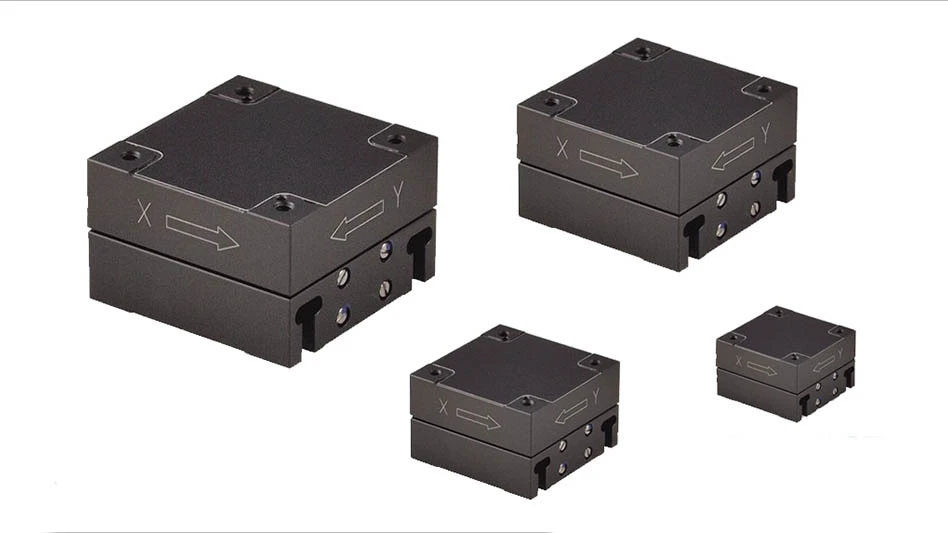
- Avoidance of vibration from highly dynamic movements For 2D tool movements, the influences of the data processing chain on the workpiece accuracy can be inspected with a KGM 182 grid encoder from Heidenhain.
The characteristics of motion control by a Heidenhain iTNC 530 can be illustrated with a demonstration unit on a gantry machine. The KGM serves as the basis for evaluation of attainable contour accuracy.
high speed milling with the itnc 530
NC programs for free-form surfaces are usually created with a CAM system and consist of simple line segments.
Heidenhain controls automatically smooth the block transitions while the tool moves continuously on the workpiece surface.
This automatic smoothing is controlled by an internal function that monitors the contour deviations. This function (Cycle 32) enables the user to define the permissible contour deviation as desired. The default value is defined by the machine tool builder in a machine parameter of the control (typically 0.01 to 0.02 mm). In addition, the tolerance also affects the traverse paths on programmed circular arcs.
On free-form surfaces, the deviation from the CAD model geometry can, in the worst case, consist of the sum of the defined contour tolerance and the chordal deviation defined in the CAM system. The result on the workpiece depends in the end on the total characteristics of the machine and the values adjusted for the jerk and acceleration of the feed axes.
The workpiece corner shown in the illustration requires a circular arc path by the center of a ballnose cutter (TCP = Tool Center Point, see Figure 1). Without smoothing of the nominal path data, the Y axis of the machine would have to accelerate abruptly at the transition point. The resulting jerk causes significant oscillations of the machine. Moreover, the physical limits of normal drives prevent them from generating such virtually infinite jerk. Without expanded measures in path control, the unavoidable result is contour deviations that can assume significant proportions, depending on the change of curvature and contouring speed. The path control of the iTNC 530 smoothes the jerk and complies with the given contour tolerance even during strong changes in contouring speed. If a larger tolerance can be defined, the production times can be shortened significantly.
advantages of the itnc 530:
High reproducibility of adjacent paths in alternating directions: Heidenhain controls attain very high reproducibility in multipass movements with direction reversal.
Contour deviation between forward and backward paths stays negligible, resulting in very high workpiece surface definition.
The feed velocities required for HSC milling technology place machine controls before a great challenge. Short machining times can be achieved only at higher mean contouring feedrates. However, wherever the milling path includes small radii, the velocity has to be drastically reduced in order to keep path deviations within the permissible tolerance band. In addition, the accelerating and braking motions can cause frame vibrations that impair workpiece surface definition.
Jerk and acceleration are smoothed in the motion control offered by Heidenhain.
This can suppress machine vibrations very effectively. If necessary, the control automatically reduces the programmed feed rate to reduce the excitation of vibration to a minimum. Effective prevention of excessive machine vibration enables a part program to run at very high velocity and thereby decisively reduces machining times. By smoothing the jerk, the iTNC 530 makes it possible to realize high surface definition without disturbing effects from vibration.
Summary
HSC milling technology has a decisive influence on manufacturing processes in mold and die making as well as in aerospace technology. The required feed velocities place machine controls before a great challenge.
In the conflict of interests between machining time, contour accuracy and surface definition, the Heidenhain iTNC 530 control ensures that machining complies with selected preferences.
This means that the tool paths are planned so that machine vibrations are prevented, accuracy requirements are fulfilled, and machining time is minimized.
Moreover, the iTNC 530 achieves high reproducibility of neighboring milling paths to enable users to meet very high requirements on surface quality and reduce machining time for reciprocating multipass milling.
The iTNC 530 has set new standards in the harmonization of the control, the drives and the machine frame.
This makes it possible to manufacture a broad range of components of required quality starting with the first part.
Heidenhain Corp.
Schaumburg, IL
heidenhain.com

Explore the March 2009 Issue
Check out more from this issue and find your next story to read.
Latest from Aerospace Manufacturing and Design
- Talking machine tools with the professionals who build them
- Tools and strategies for improving your machining processes
- America Makes announces QTIME project call
- Innovation meets precision for 40% faster machining
- Upcoming webinar: Pro tips from a supply chain strategist
- Heart Aerospace relocates to Los Angeles
- Fixtureworks introduces Stablelock Clamps
- Piasecki acquires Kaman's KARGO UAV program


