 Detecting Surface Defects in Metals
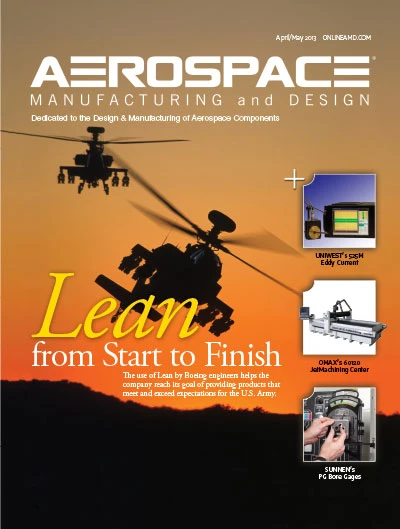
With an exceptional signal-to-noise ratio, the 525M enables detection of smaller flaws that other instruments may miss. The instrument is ideal for quality assurance in the aerospace, automotive, and metal production industries.
The rack-mounted single- or multi-channel eddy current instrument integrates into a semi- or fully-automatic inspection system to provide reliable non-destructive testing in an inline production environment.
The 525M is ideal for bar, tube, wire, and specialty component testing needs, offering up to eight channels with a frequency range of 20Hz to 10Mz, a 12" diagonal color LCD flat-panel screen, 32-gigabyte data storage, input/output (I/O) capability, three discrete alarm gates with independent outputs per channel, an integral digital strip chart, and USB and Ethernet control and data transfer to meet a wide range of production testing requirements.
525M Features
|
UniWest
Pasco, Wash.
www.uniwest.com
 Abrasive Waterjet Technology
The center is the smallest of the company’s bridge-style machines, but is capable of fully cutting parts from large stock materials measuring up to 1.5m x 3m (5ft x 10ft). It boasts an accuracy of motion as tight as ± 0.076mm (0.003") and can machine complex parts out of most materials, including composites, metals, plastics, glass, and ceramics directly from a CAD drawing or DXF file.
The 60120 features an X-Y travel of 3.2m x 1.5m (10ft 6" x 5ft 2") and comes standard with the company’s exclusive Intelli-MAX Software Suite, which runs on the Windows 7 Ultimate operating system. The software precisely calculates the velocity of a tool path at more than 2,000 points per inch, allowing for complete control over the motion of an abrasivejet, and enabling precise, rapid machining. Additionally, the software automates most programming and tool setup work, virtually eliminating the need for extensive operator training. Free software upgrades are available for the life of the machine.
Options
|
OMAX Corp.
Kent, Wash.
www.omax.com
 Fast, Precise Hole Measurements
Sunnen’s PG Bore Gages take an intuitive approach to hole gaging with a mechanical design and speedometer-type scale for quick visual confirmation of ID (inside diameter) by a busy machine operator. The gage combines lab-precise accuracy (±0.000025"/0.0006mm) with a shop-hardened design that is compact, portable, and mountable on machining stations. PG gages can be used to examine the entire bore for diameter, taper, barrel, bell mouth, out-of-round, and lobing. A sliding faceplate with adjustable stops permits end-to-end examination of bores. Stops can be set to allow examination of a particular section of the bore, with accuracy right up to the edge of ports, lands, and ends. The speedometer-type scale provides readouts to 0.000050"(.001mm) for 100% inspection of machining operations or fast sampling of large vendor lots. Various models are available for gaging IDs from 0.090" to 4.310". Metric models cover IDs from 2.0mm to 109.47mm.
The PG Bore Gage removes complexity, skill, and feel from the measurement process, allowing machine operators to precisely confirm part size with an intuitive analog scale. The design of these gages is not affected by temperature, moisture, air pressure, or vibration. The gages do not need electrical or air connections, making them immune to fluctuations in line voltage or air pressure.
Sunnen Products Co.
St. Louis, Mo.
www.sunnen.com
Get curated news on YOUR industry.
Enter your email to receive our newsletters.
Explore the May June 2013 Issue
Check out more from this issue and find your next story to read.
Latest from Aerospace Manufacturing and Design
- GE Aerospace secures Air Force engine contract
- Thomson Industries' online sizing and selection tool
- #53 - Manufacturing Matters - 2024 Leaders in Manufacturing Roundtable
- Join us for insights on one of the hottest topics in manufacturing!
- You can still register for March’s Manufacturing Lunch + Learn!
- Ohio creates Youngstown Innovation Hub for Aerospace and Defense
- Tormach’s Chip Conveyor Kit for the 1500MX CNC Mill
- How to Reduce First Article Inspection Creation Time by 70% to 90% with DISCUS Software


